Double-exposure photography: How to master it!
If you’re looking to create powerful, unique images, try using double-exposure photography. Here’s a how-to guide.

Have you ever seen images that look like one photo inside another? Photos like this are using a style called double-exposure photography. Double-exposure photography is perfect if you want to try something new while keeping your current aesthetic or if you feel like you’re stuck in a rut and want to shake things up.
If you’re ready to create stunning, surreal images, double exposures may be for you. The guide below will help you create one-of-a-kind composite images using two different photos that are layered together, but first…
What is a double exposure?
A double exposure is a combination of two images in one. One image is layered on top of another for a unique effect.
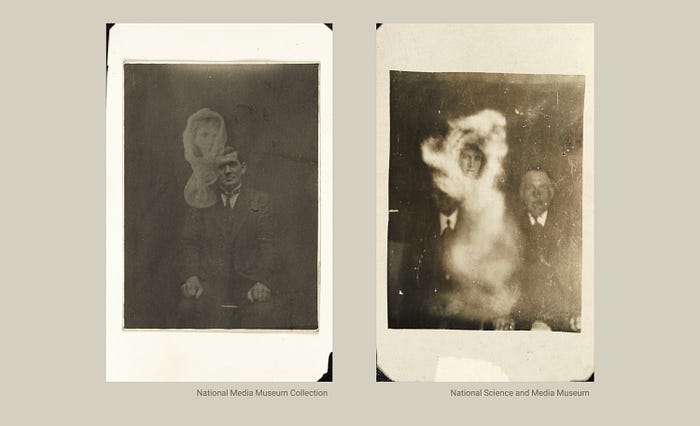
The history of double-exposure photography can be traced back to the 1860s when William H. Mumler pioneered what he referred to as spirit photography. He would use a previously exposed negative while taking a portrait, and the resulting photo would appear to have a spirit in it.
With digital photography, creating a double exposure is a relatively simple process that can be done with software like Photoshop or third-party apps on a smartphone.
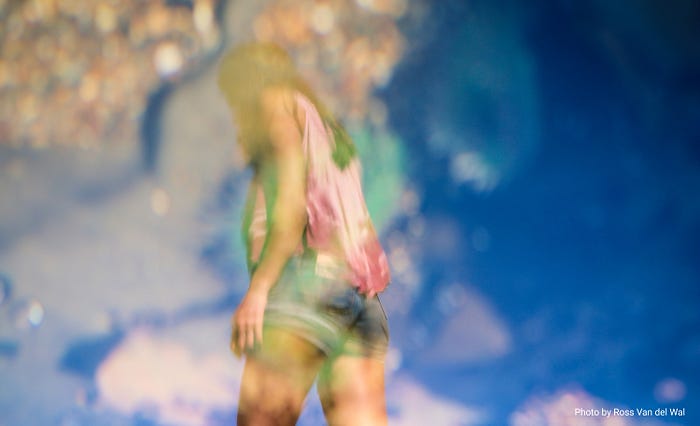
How to create a double exposure.
A double-exposure image can be created with film or digitally. With the Nikon Z series and the Canon EOS 90D, some cameras have settings that allow you to create double- or multiple-exposure images in-camera.
If your camera doesn’t have this option, you can still create double exposures in post-production with an editing program.
Let’s start with how to create a double exposure with film:
- Take the first photo. This should be of the subject.
- Rewind the film and take the second photo. This should be whatever you want in the background such as a landscape.
- Develop the film. The images will be layered on top of each other within the same frame.
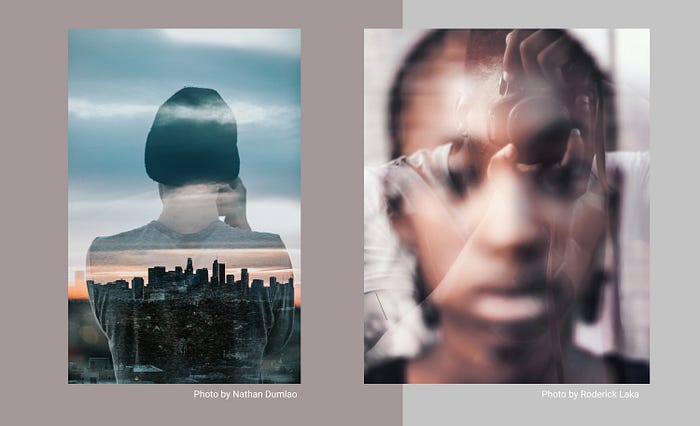
Taking double-exposure images with a digital camera is as simple as selecting the base image from the memory card and taking another photo. If your camera supports the feature (like the ones mentioned above), the camera will layer the images for you.

Creating a double exposure in Photoshop.
- Select the base image. It should be one without a lot of noise and a clean background. Edit the photo, adjusting brightness and contrast as you wish.
- Add the layer image. Drag it over the first image; while the layer image is selected, click the Ctrl key and then click the Layer Clipping Mask button of the first image. Unlink the mask and move the second photo until it’s placed where you want it.
- Blend the images together by selecting Screen from the Blend Mode dropdown.
- Make adjustments to the contrast, hue, saturation, and color balance until you achieve the desired look.
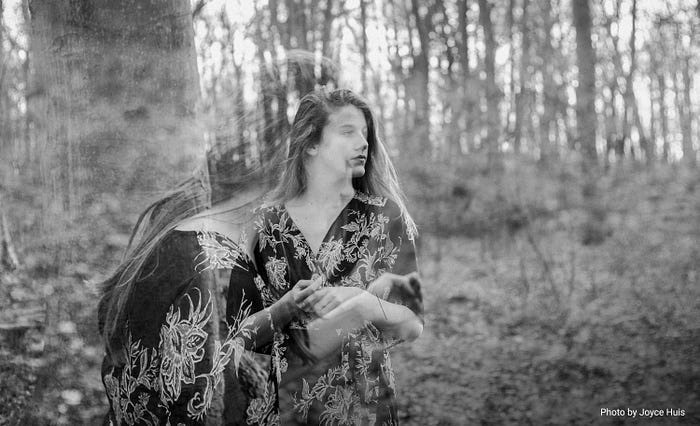
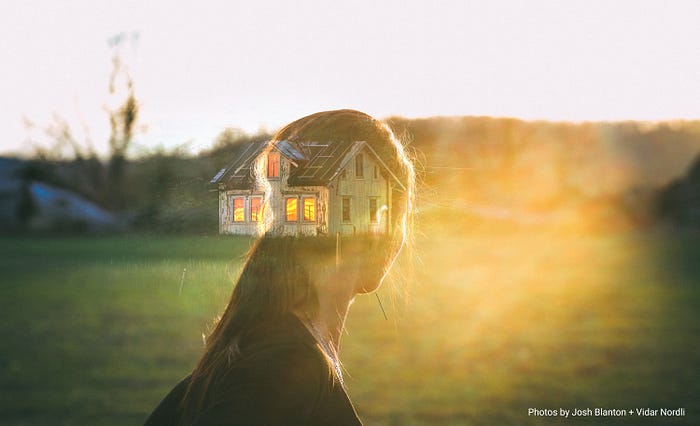
Tips to create unique double-exposure photos.
Creating double exposures is a beautiful way to unleash your creativity. Here are a few tips to take your composition to the next level.
- Double expose is only part of the photo. For example, if your main image is a woman gazing into the distance, use the double-exposure technique only on her head to show what she’s thinking.
- Use different color filters for each image before blending.
- Experiment with different textures. Use backgrounds of sand, wood, or water to enhance an otherwise simple photo.
- Combine two photos of the same person. Tell a story about who they are on the outside versus who they are on the inside.
The possibilities of what you can create with a double exposure are endless! Practice with new subjects or give new life to old photos.

